
I spent this forenoon taking new photos of all my Iron Warriors models painted so far in order to have pics of them with a homogenous background. Here you are, enjoy (caution, pic-heavy!):
Warsmith Fabrilis


Magus Tenebrae

Techmarine Procudo
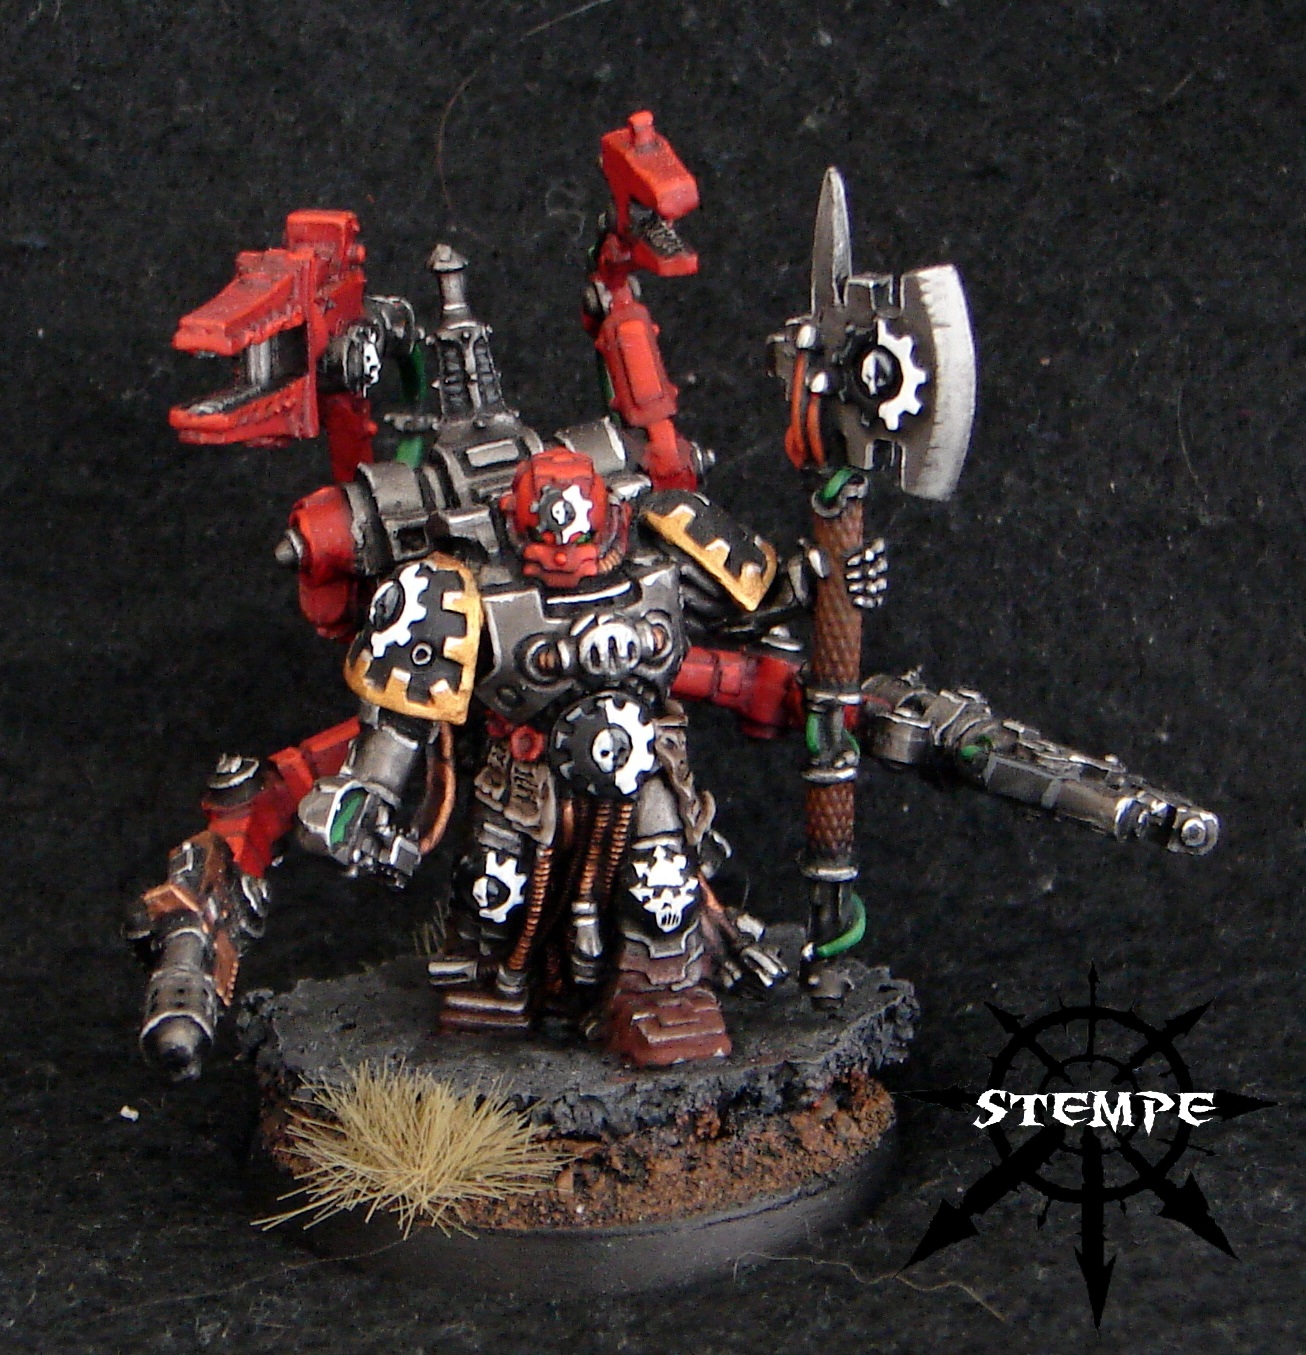
Techmarine Procudo's Servitor retinue

Dreadnought Brutus

Terminator Squad

Iron Warriors


Scouts

Rhinos


Drop Pod


Assault Squad

Land Raider 'Iron Duke'


Vindicators


Mission Objectives

Excellent. Very impressive collection and nice photography.
ReplyDeleteGreat stuff! Love the OSL on your Magus (particularly the backpack eyes). What color(s) did you use for the dusty weathering on your Land Raider?
ReplyDeleteCheers
Dave
Hey you two, thank you very much.
ReplyDelete@ Dave
I airbrushed the lower rim of the chassis with Vallejo Model Air Mud Brown and then randomly allpied some Vallejo Pigments (Dark Red Ochre and Brown Iron Oxide) I diluted in spirit with a large brush. That simple!
Absolutley Outstanding work all around. Very nice theme, true to both the Iron Warriors and of course the actual style of play you are using the for. The air and paint brush work is tight and the weathering is spot on. Congrats on such a wonderful army.
ReplyDeleteMy question is: Can we get a blood tutorial?
Thanks for the info Stempe, very helpful.
ReplyDeleteCheers
Dave
Hey Old School Terminator! Thank you very much for your comment. The blood is comparatively easy:
ReplyDelete- Mix some Chaos Black (but only very little) with Tamiya Clear Red and apply it with a brush by dabbing it onto the surface.
- Then do the same with pure Tamiya Clear Red and on a larger area around the darker previous mix.
Do this randomly and pull away the tip of the brush contrary to the direction the blade goes for some splatter effect. Hope this short tutorial was helpful.
@ Dave
You're welcome!
Lovely army.
ReplyDeleteCS
Thanks for the new pics. What an great army. Definitely your best army so far. I love it.
ReplyDeleteI especially like the combination of so many different bitz/part to create such an individual but easy to recognize army.
The paintjob was done pretty well to and therefore I am looking forward to your next project. How could you raise the bar more further?!
Stempe-
ReplyDeleteI was curious if you have a post about the treads on the land raider. Those are viscous! I'd love to know where you got them or if you did infact take the time to cut out a bunch of piece's of card. Thanks!
Found it!
ReplyDeleteThank you guys for all those nice comments.
ReplyDelete@ CVinton
Good, if you have any further questions do not hesitate to write me an e-mail and I'll help you.